Signature LUT Collection — With free 3-hour color correction course
- Regular price
- €39,95 EUR
- Sale price
- €39,95 EUR
- Regular price
-
About the Signature Collection
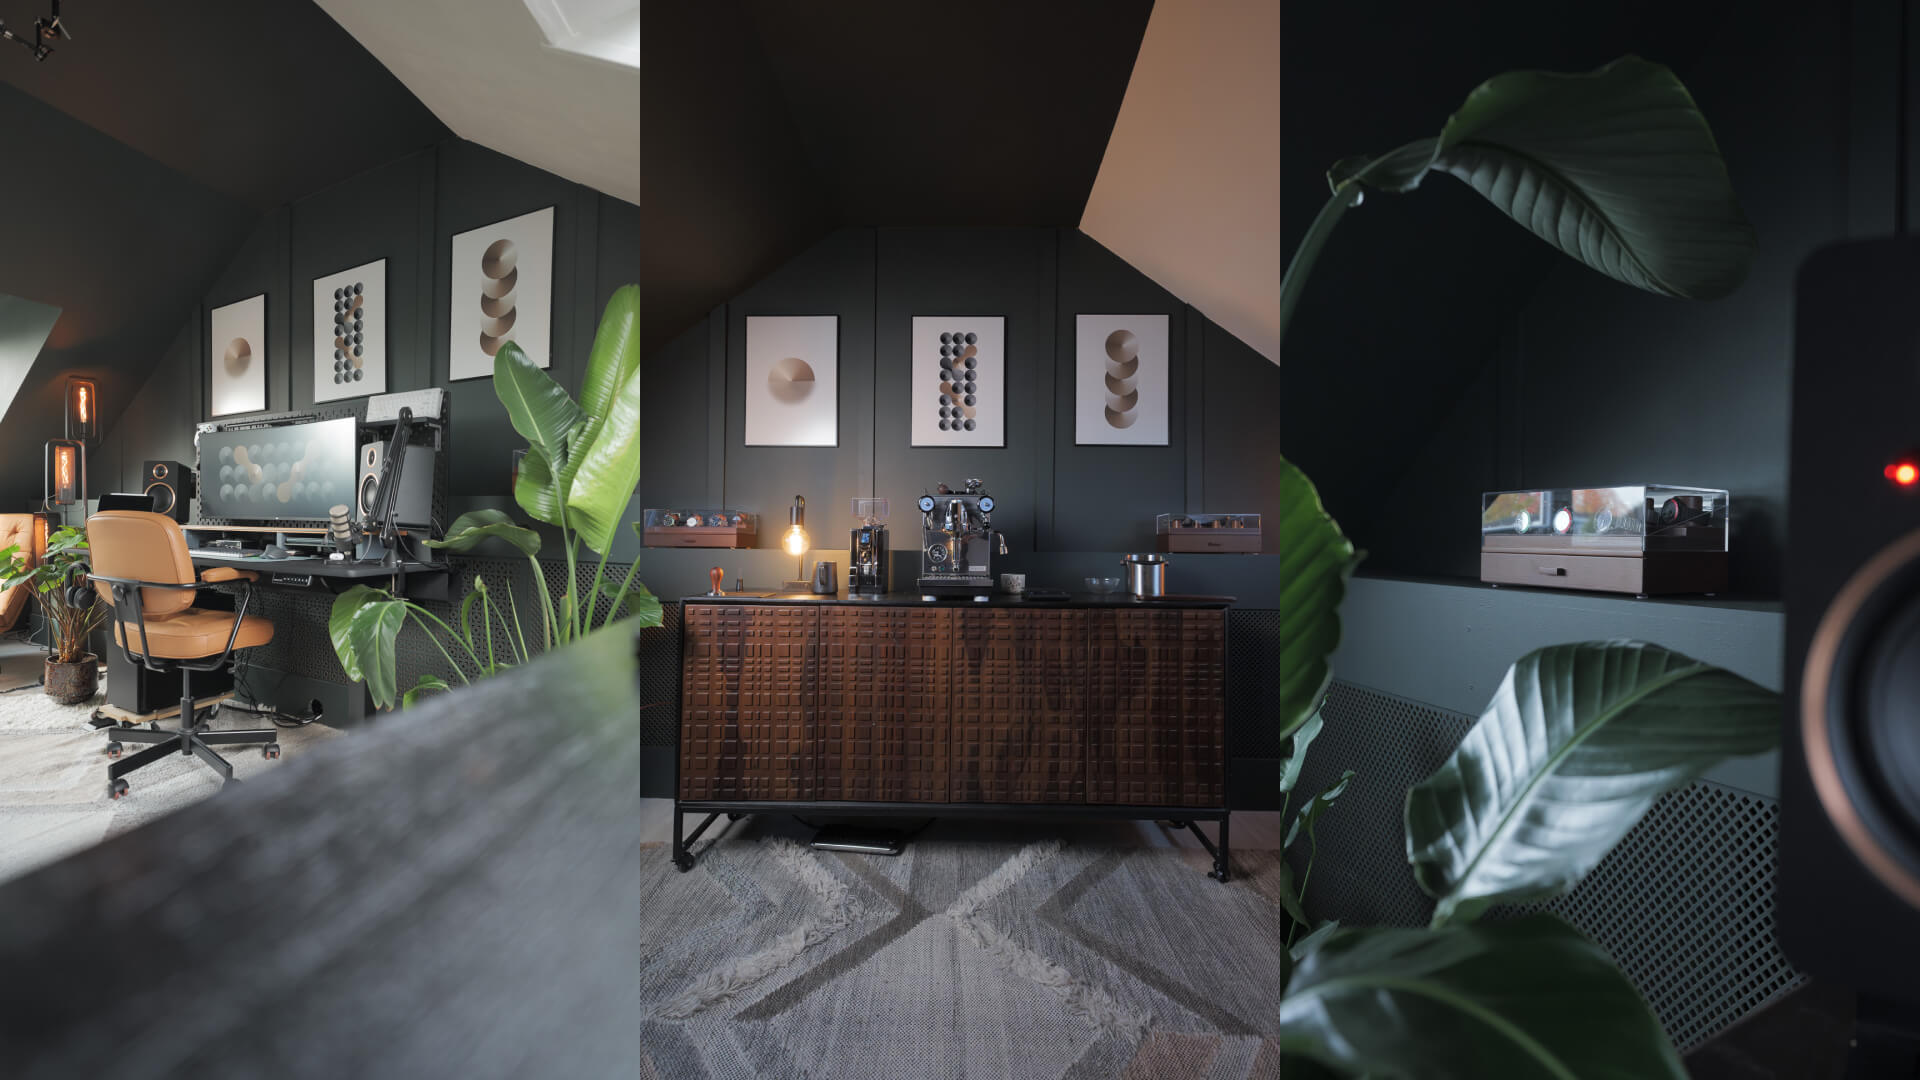
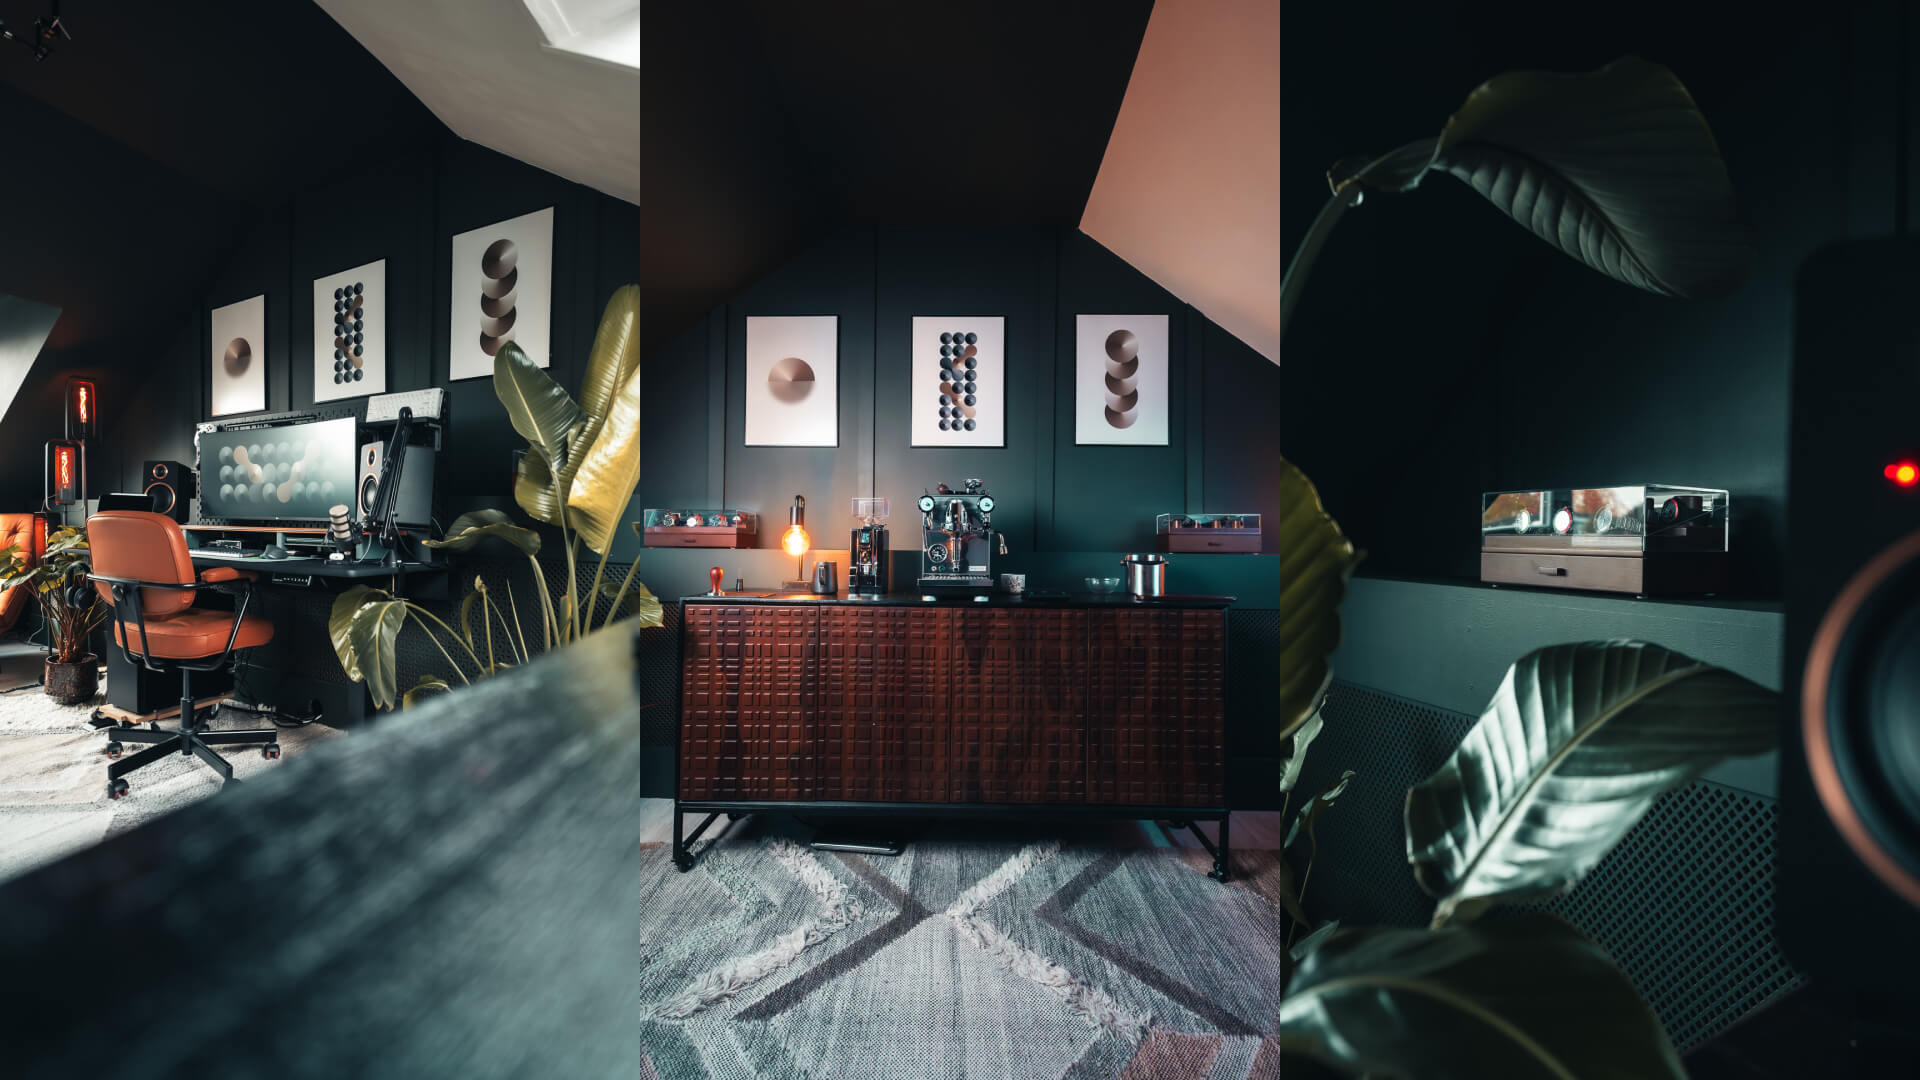
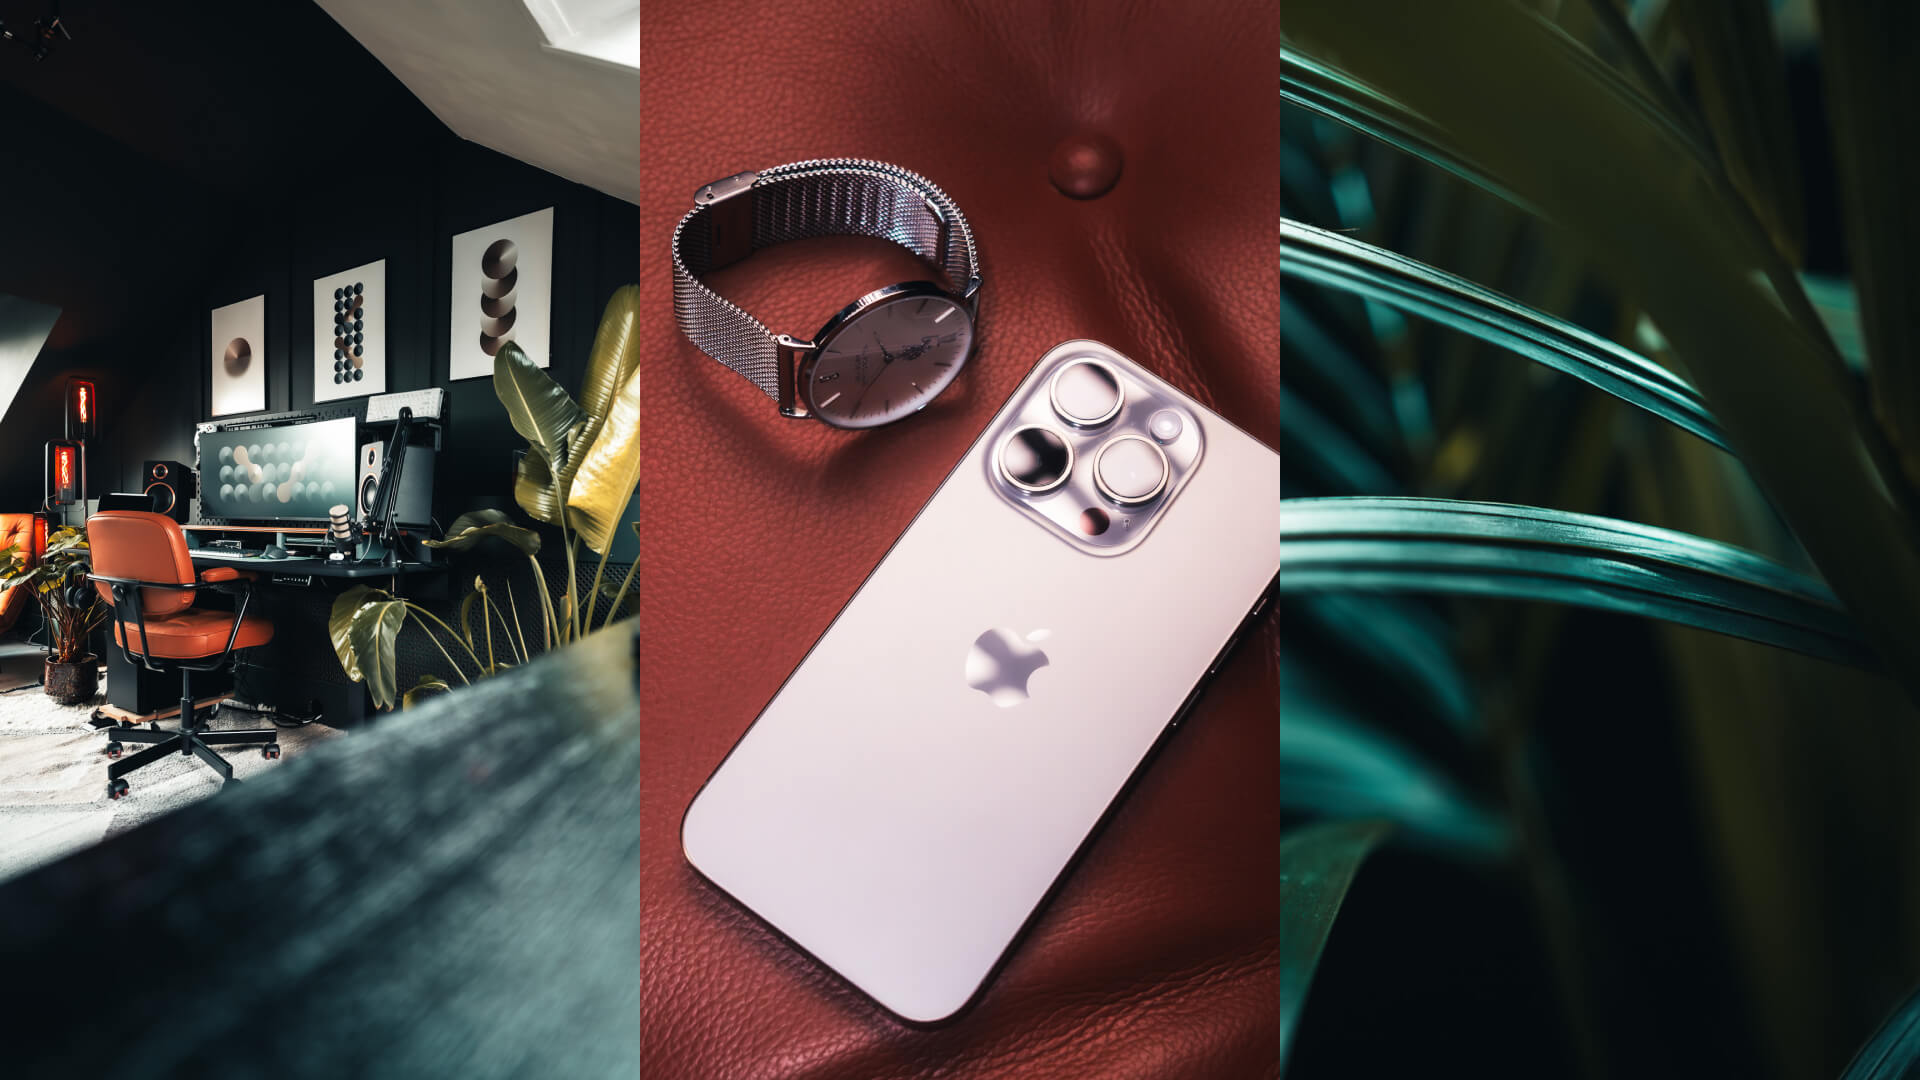
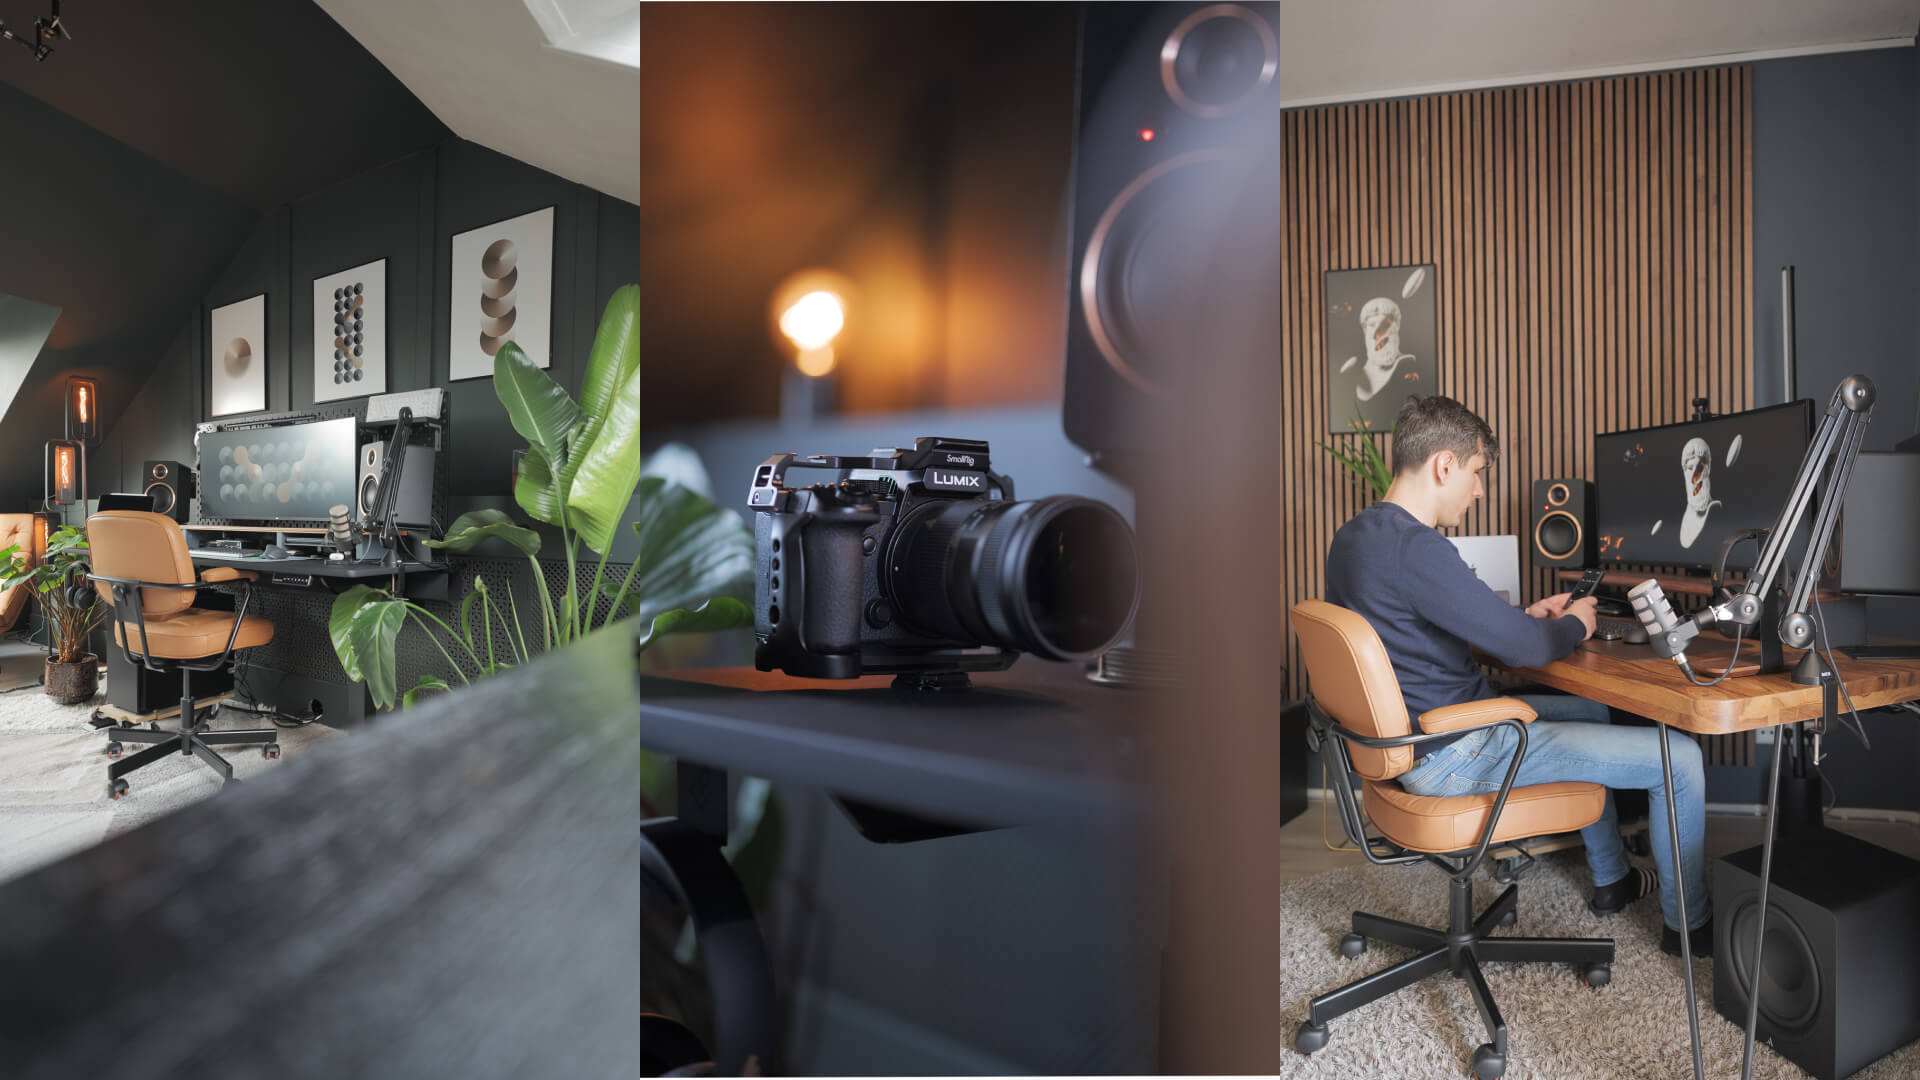
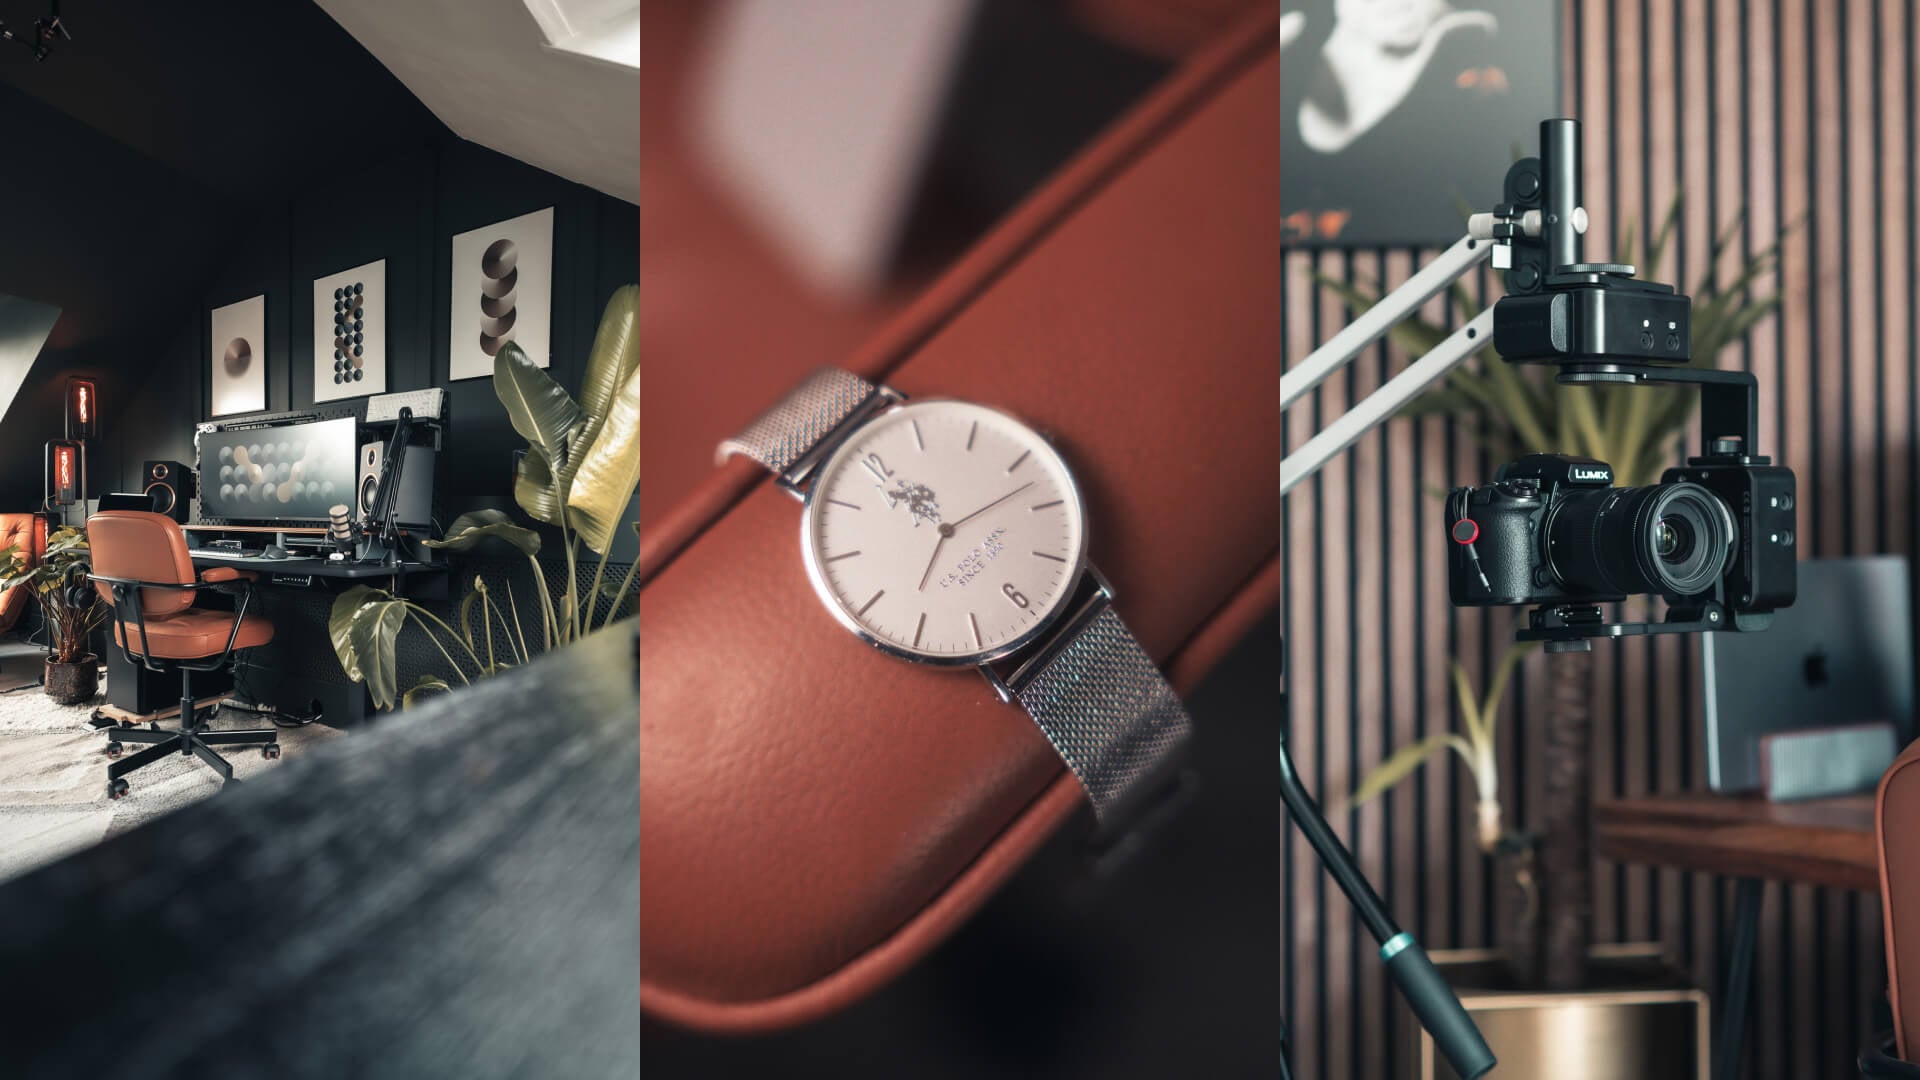
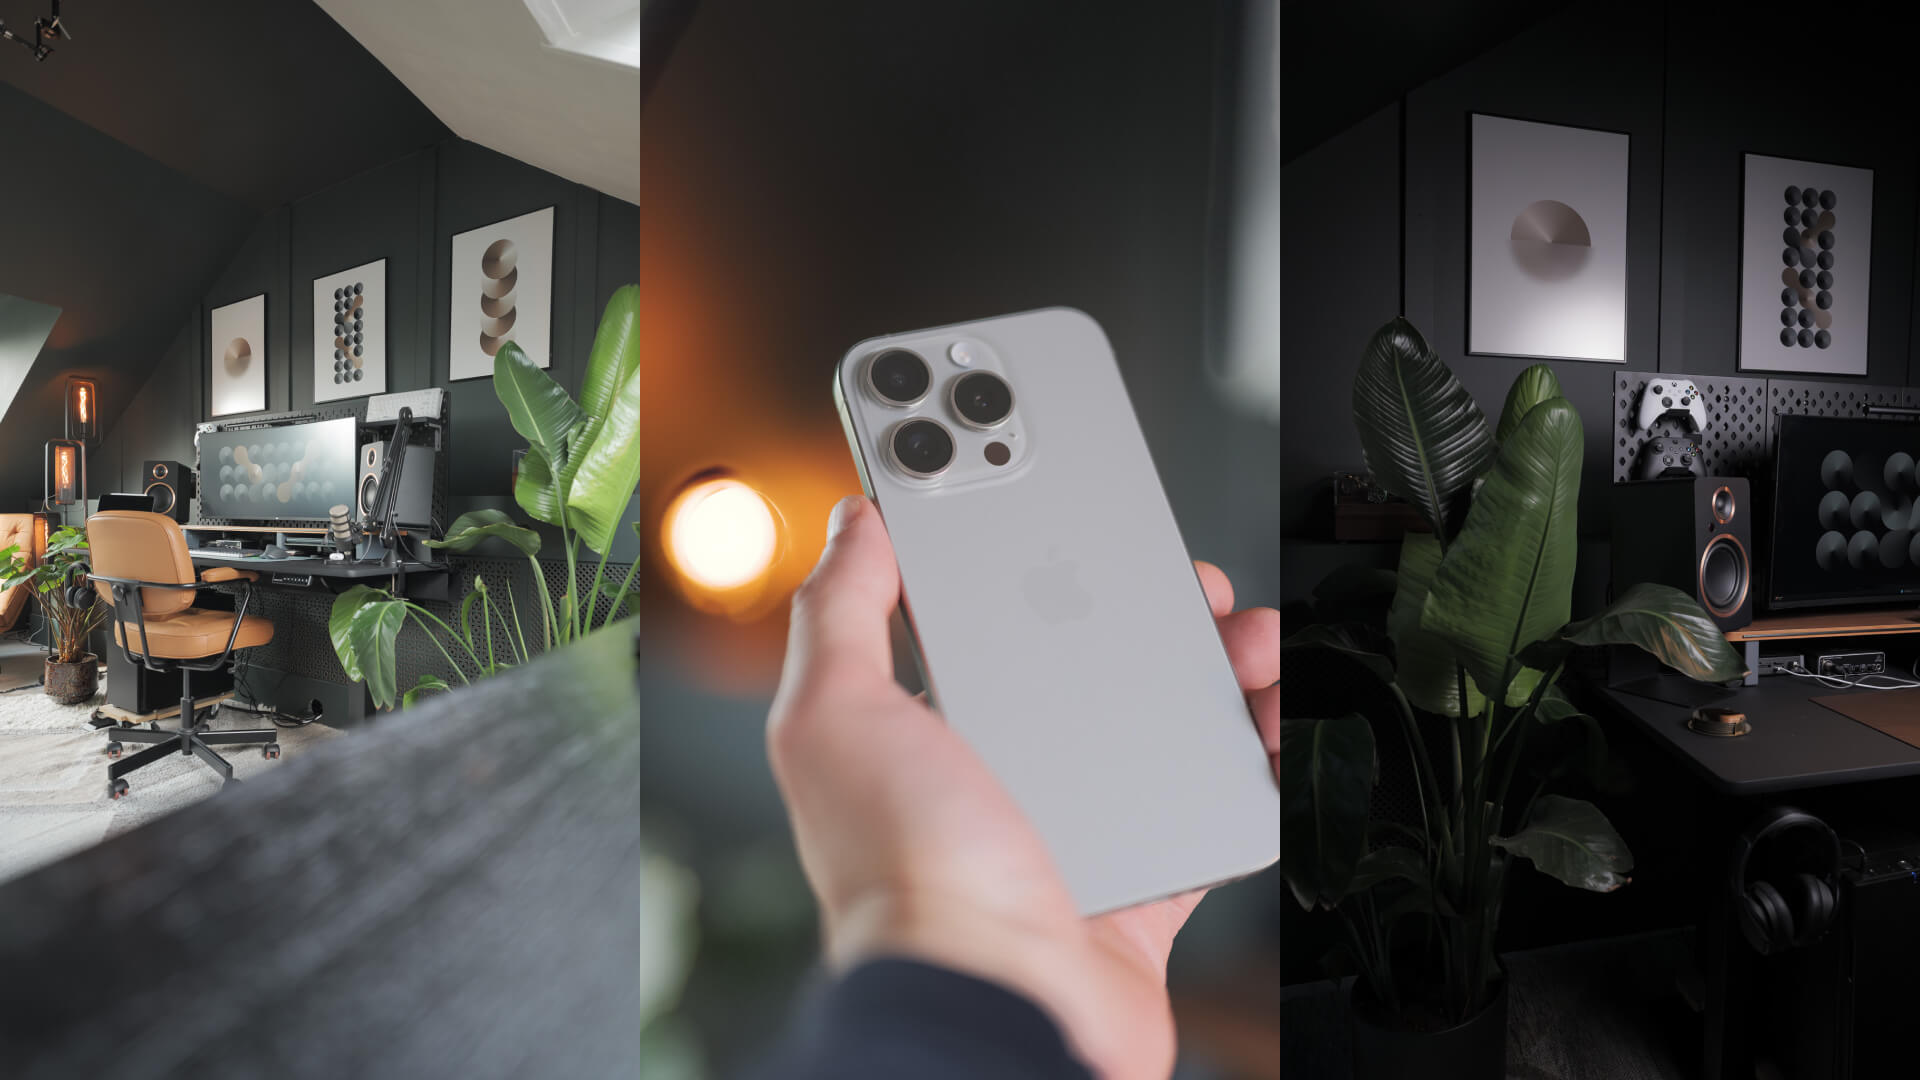
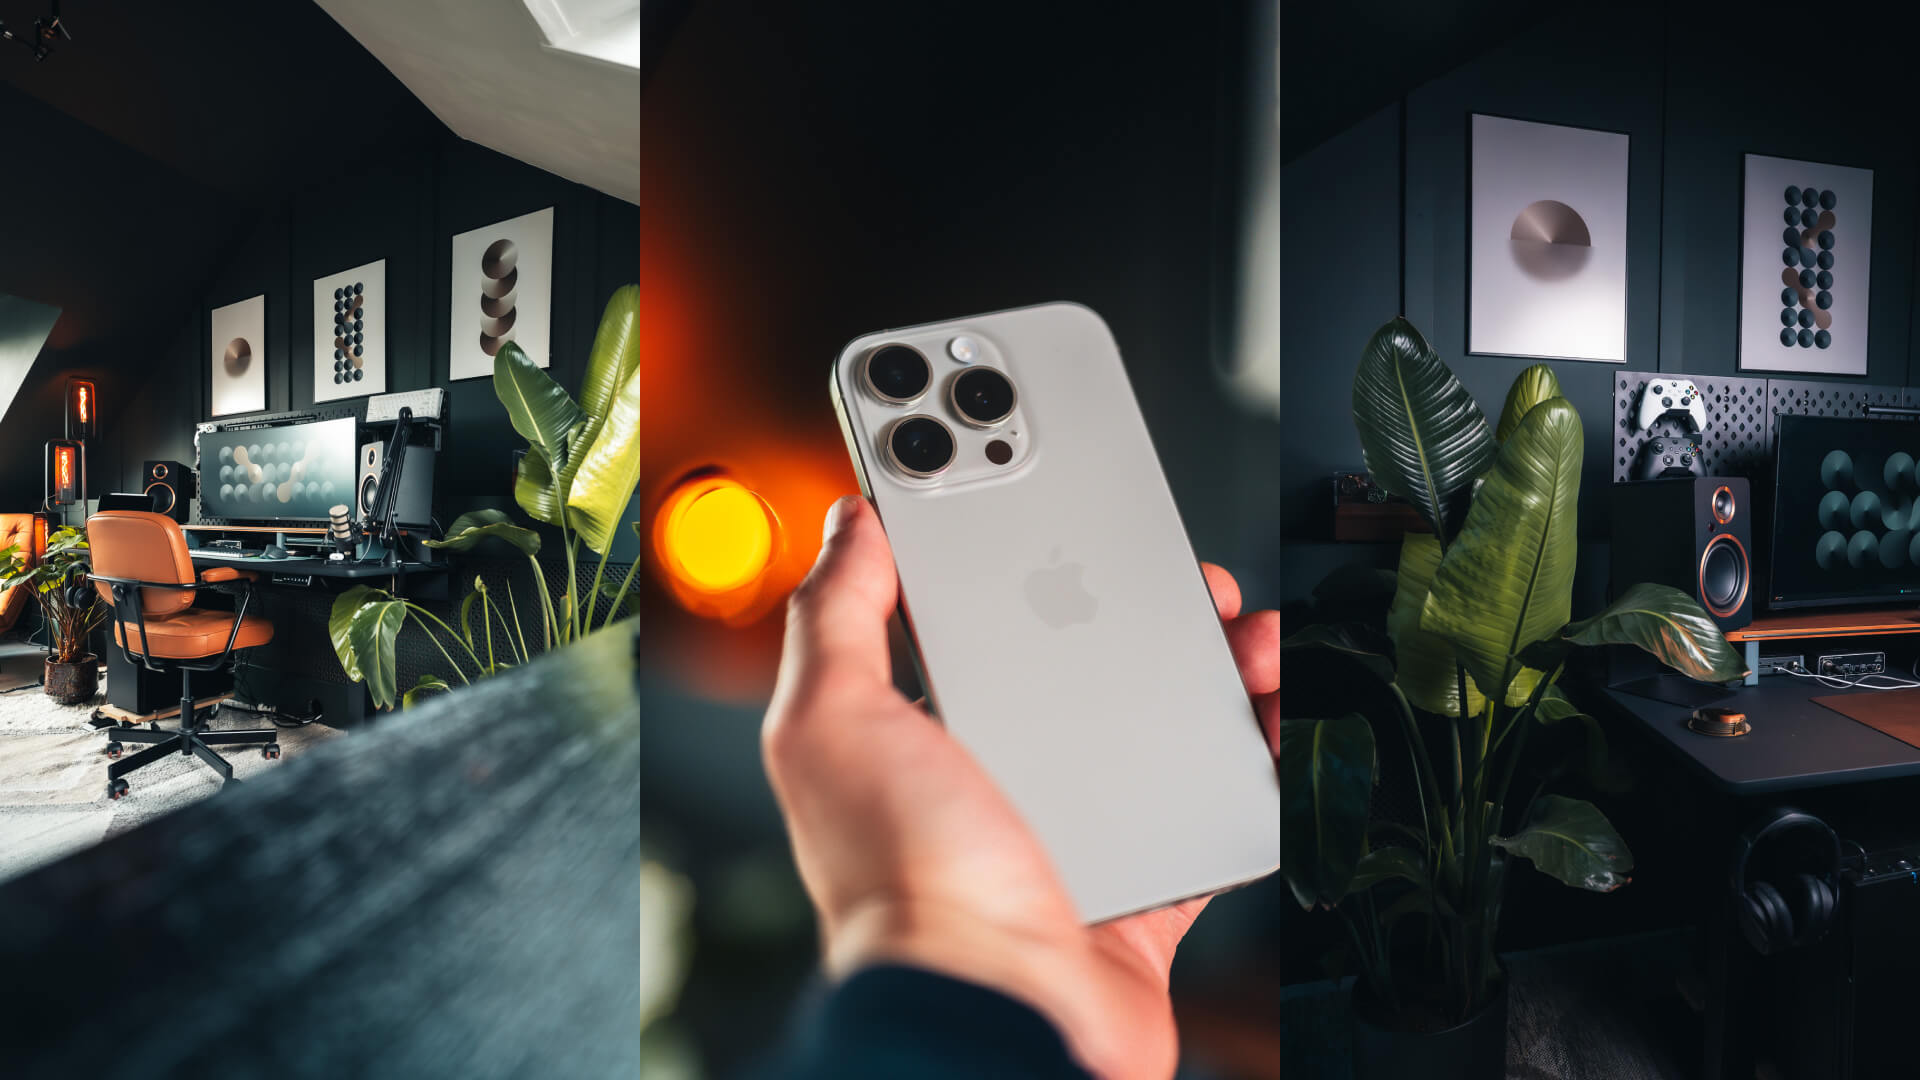
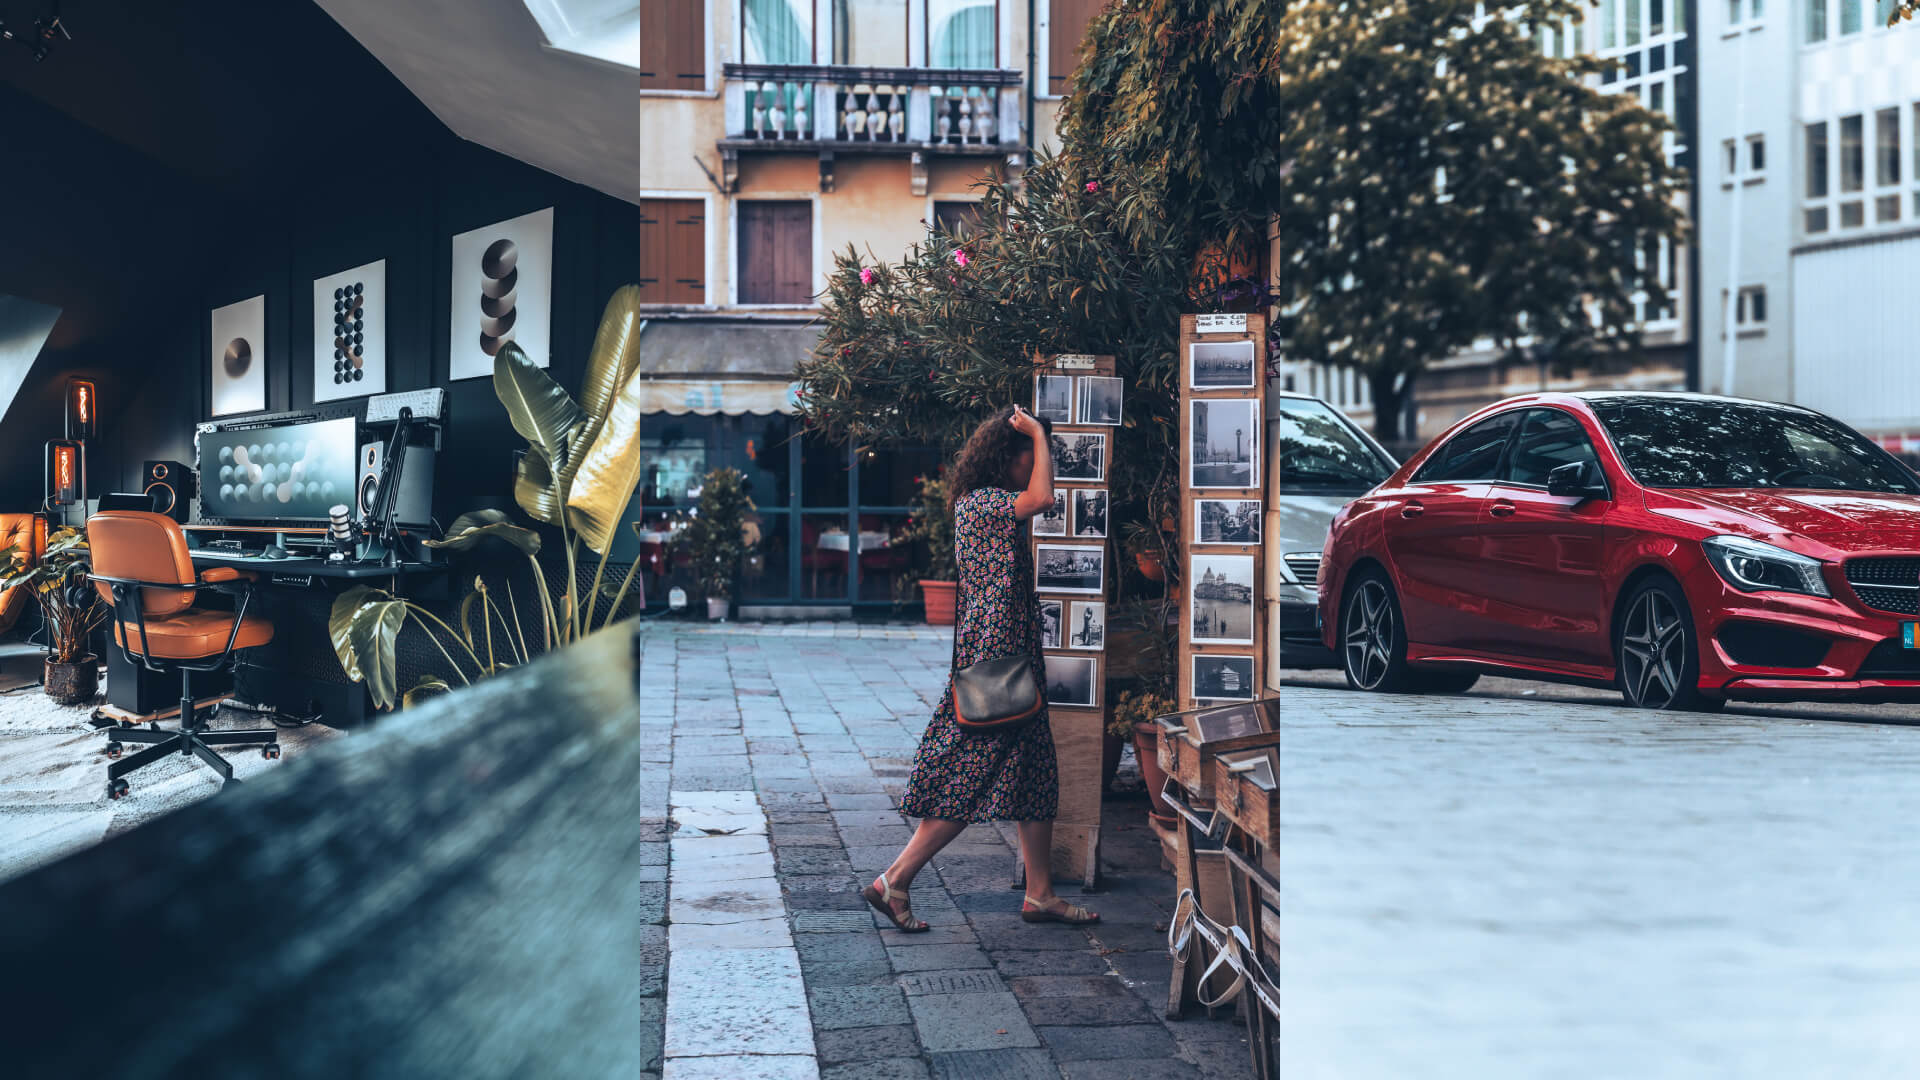
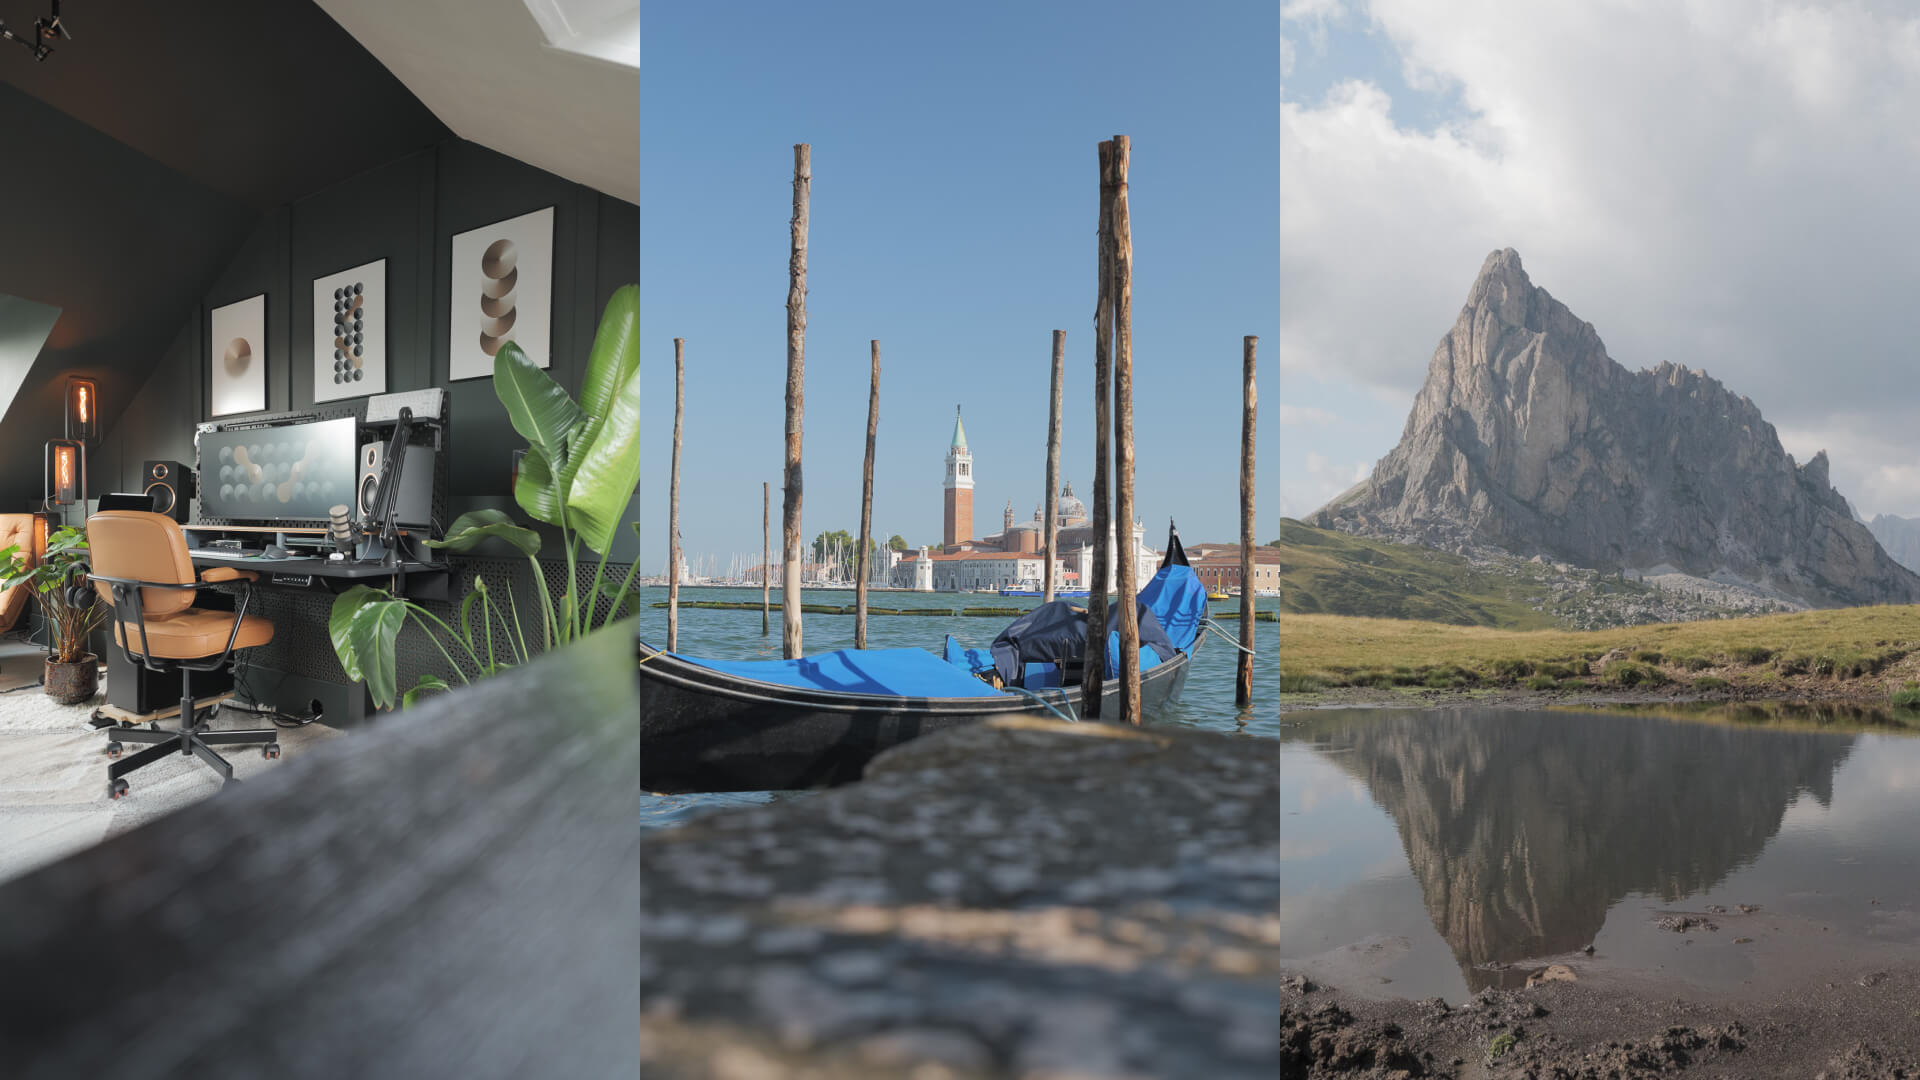
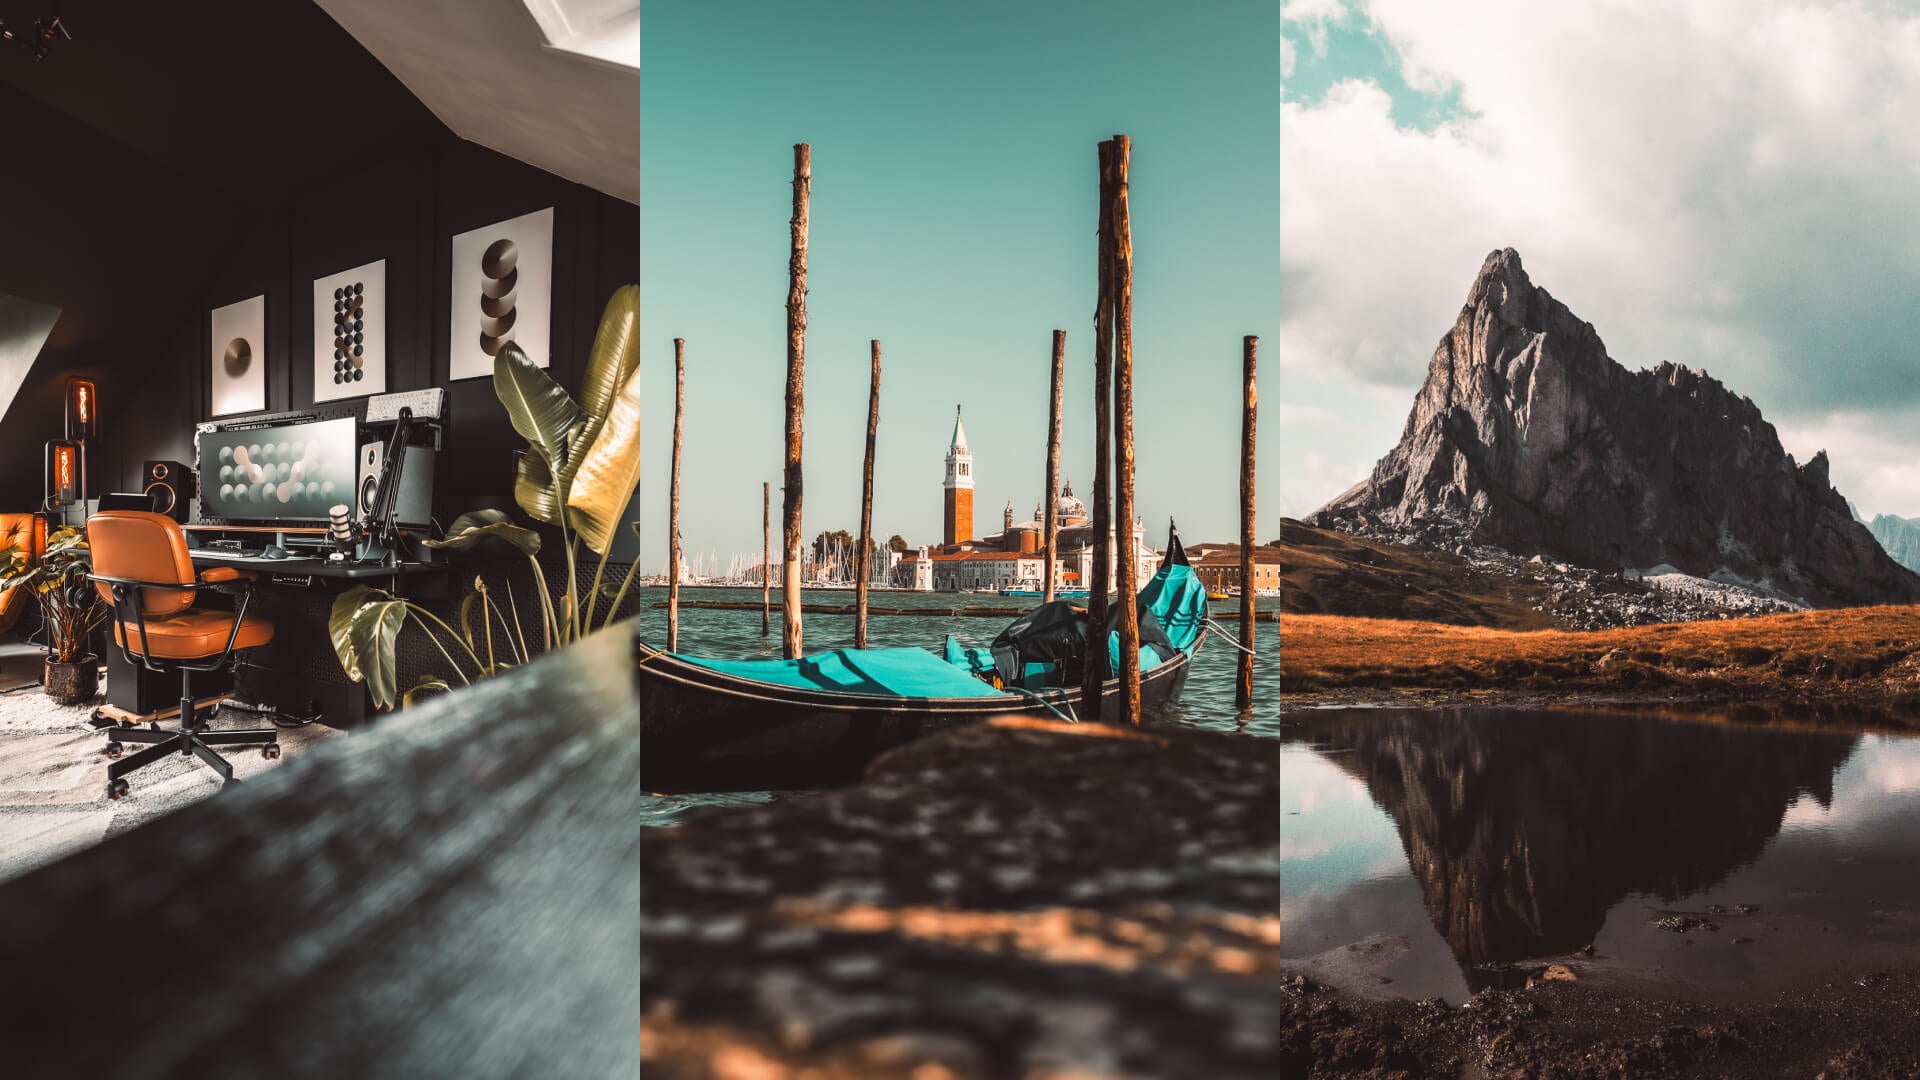
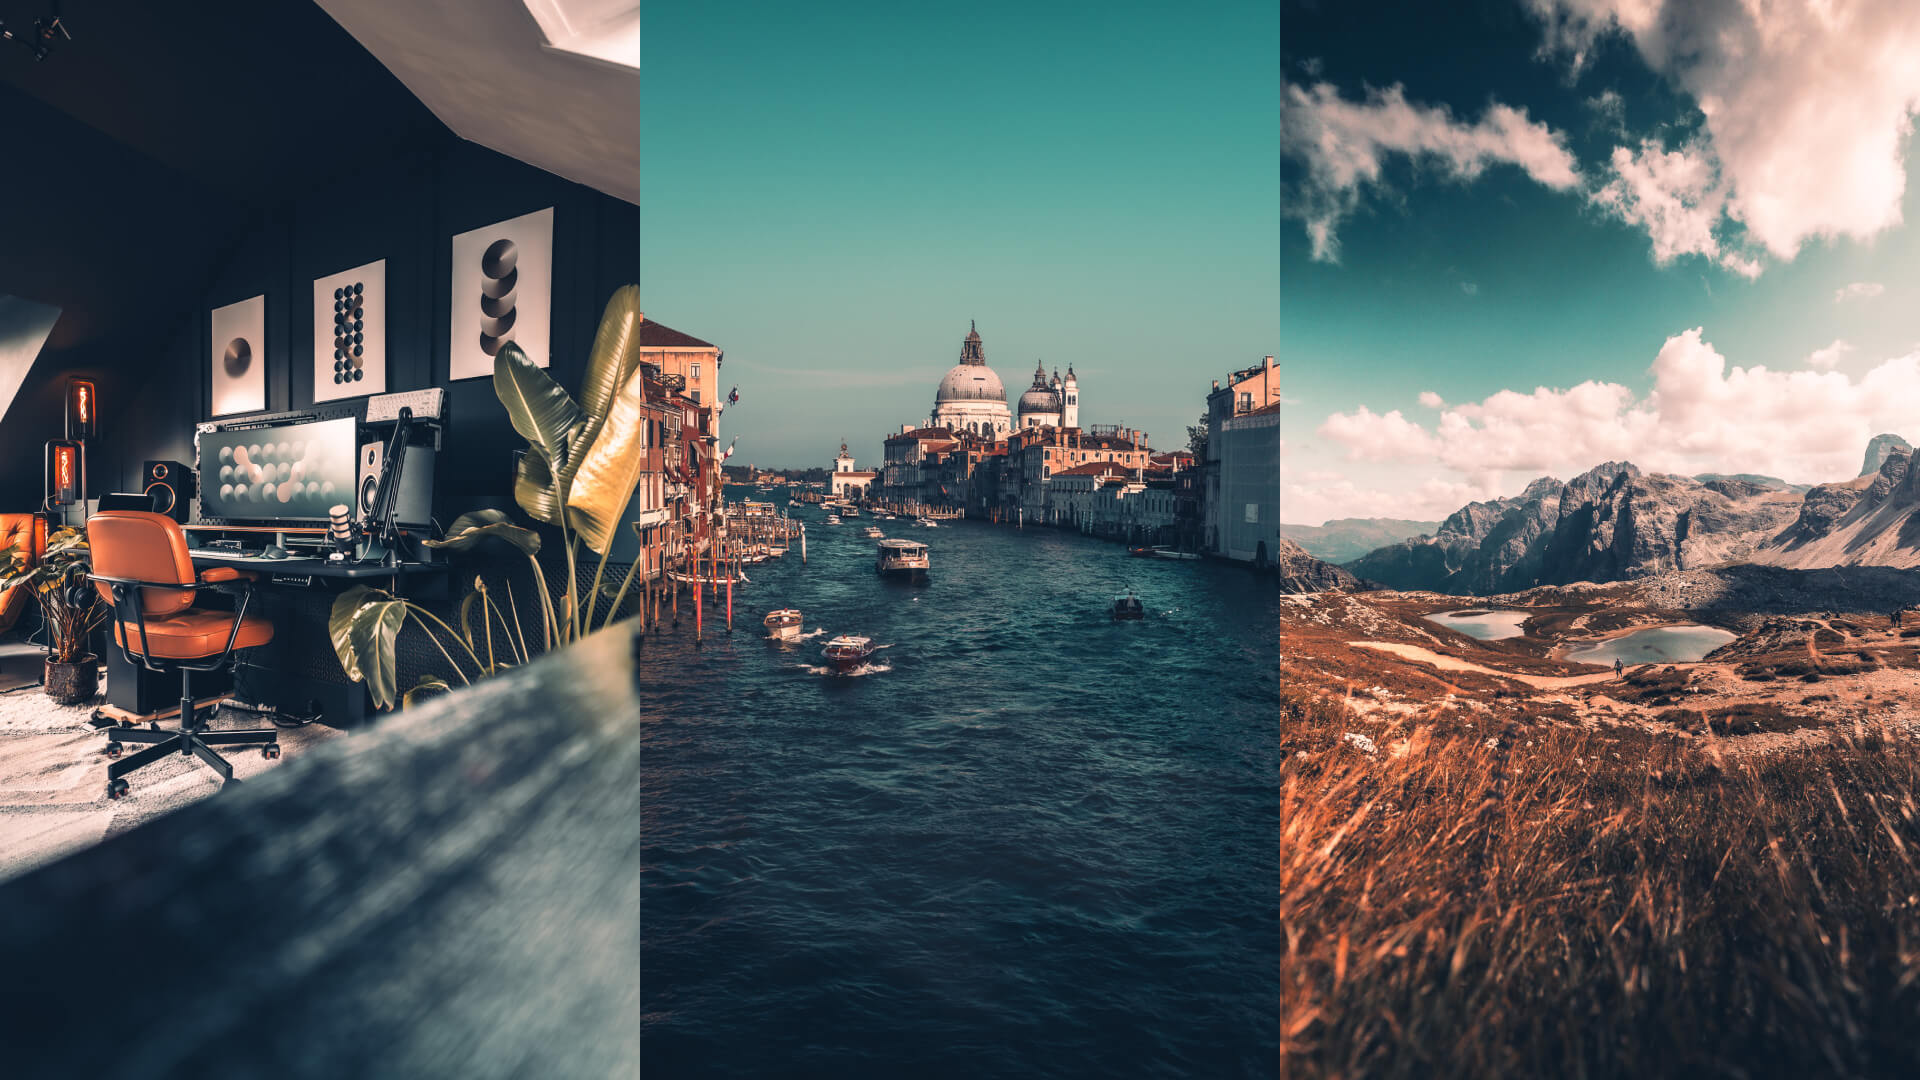
The Signature Collection is built around one consistent look, designed to keep your photos and videos visually aligned. The style is warm and inviting, combining cool shadows with warm highlights for a balanced, natural feel. Expect deep wood, leather, and skin tones, bold cyan blues, and greens with warmer light tones.
From here, the collection splits into two formats: presets for photo editing and LUTs for video editing.
About the pack
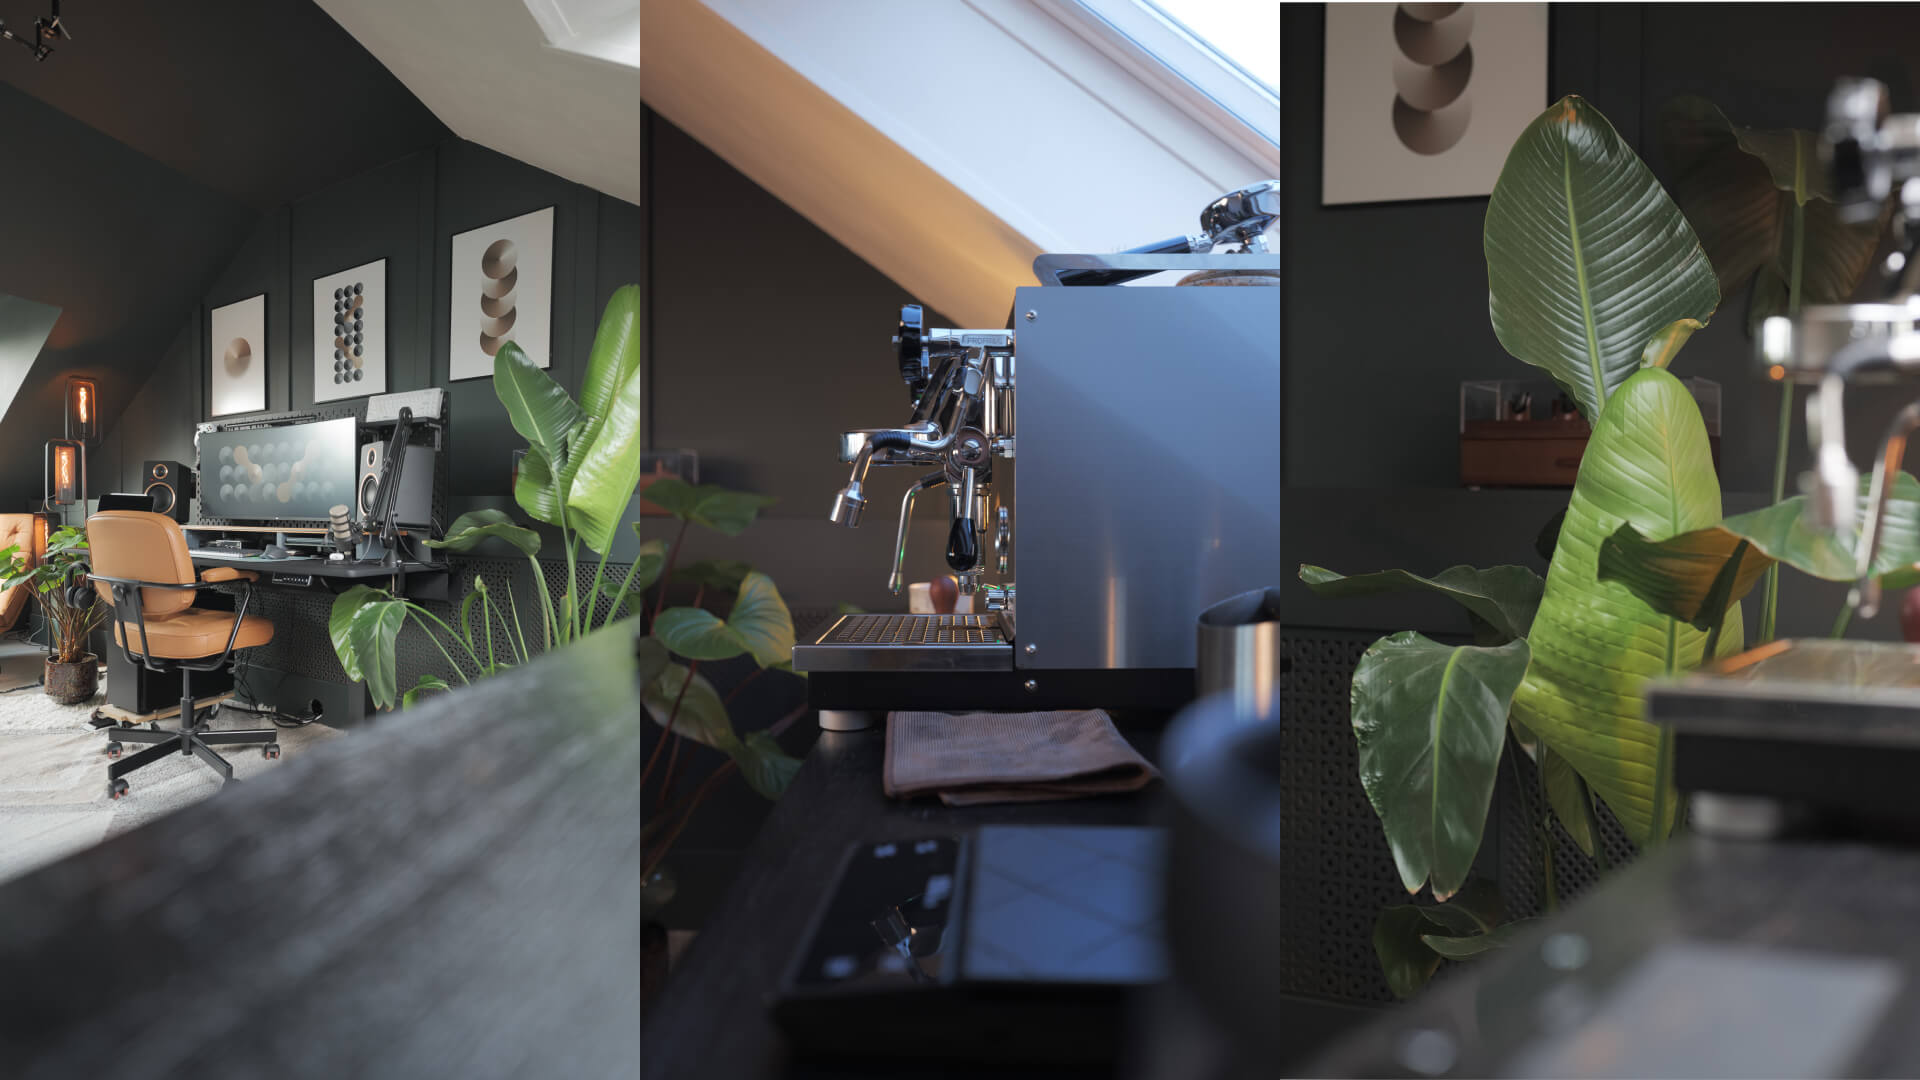
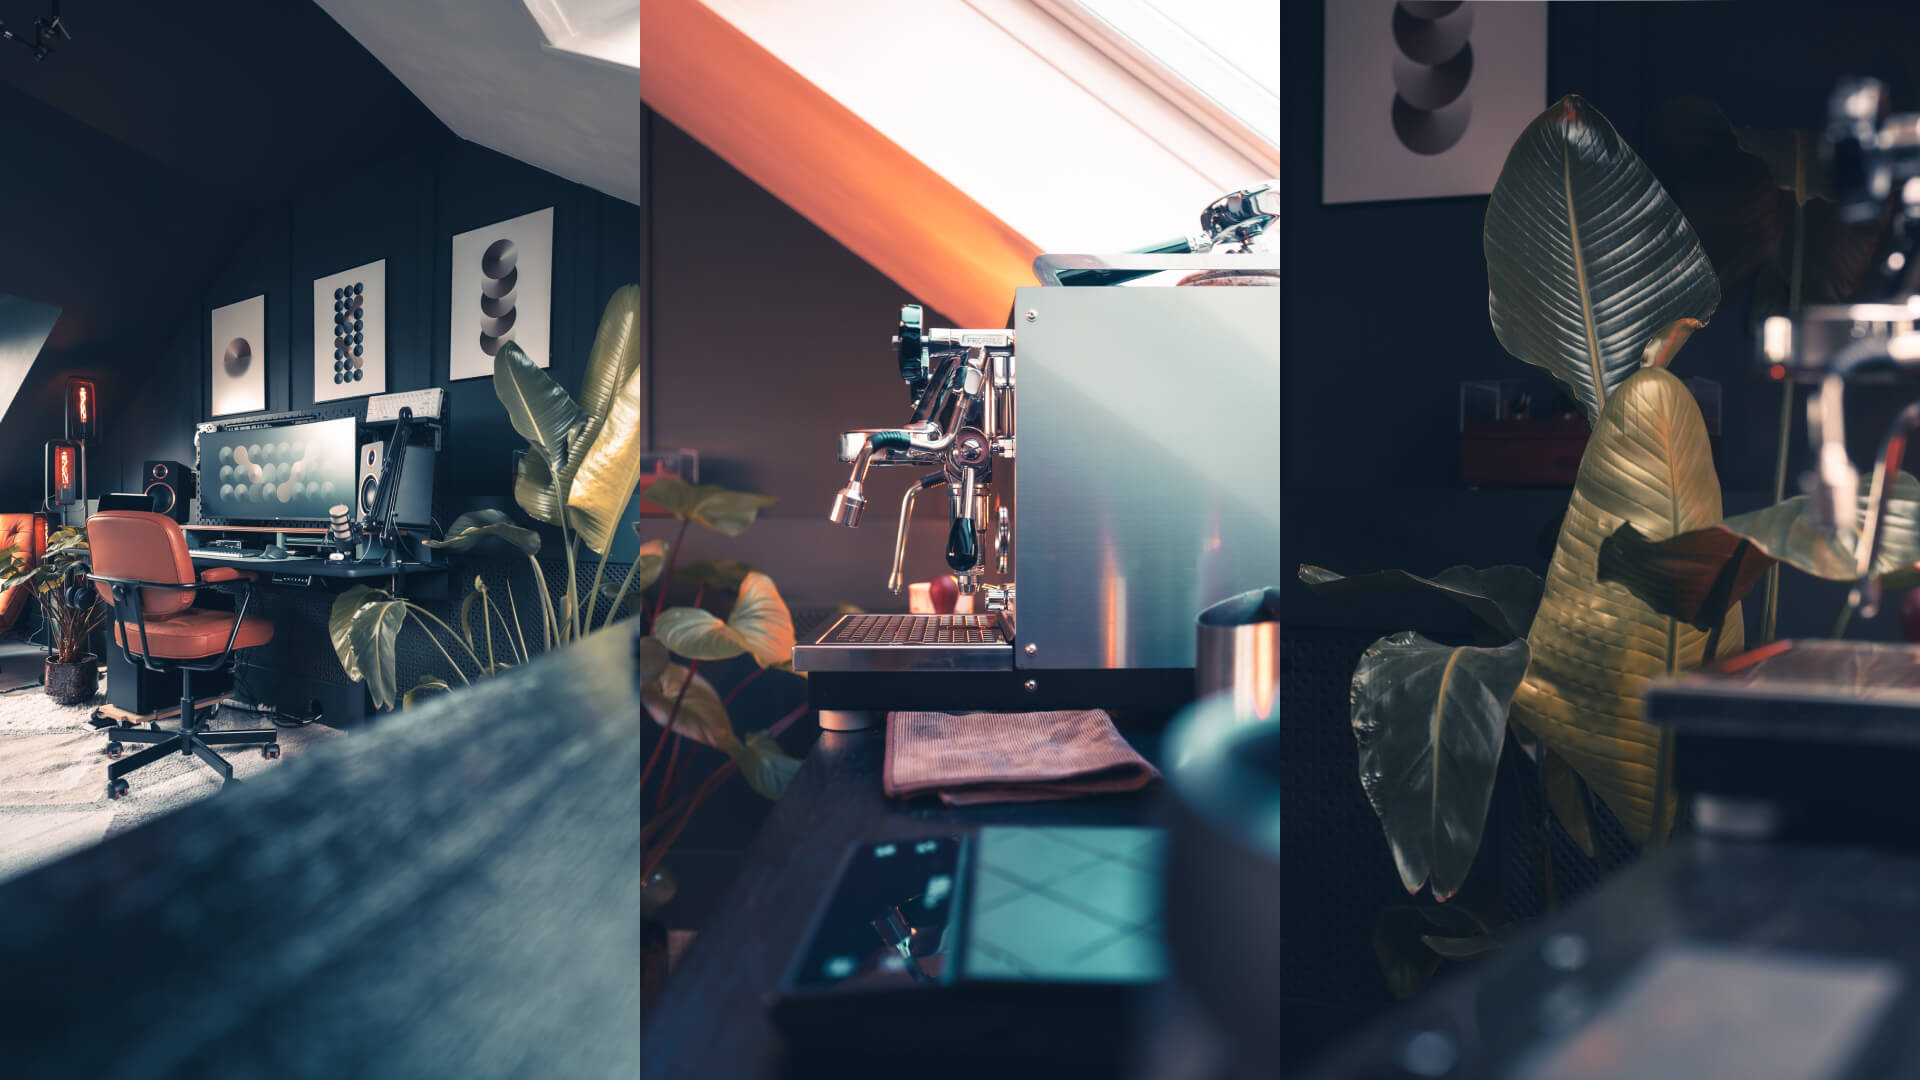
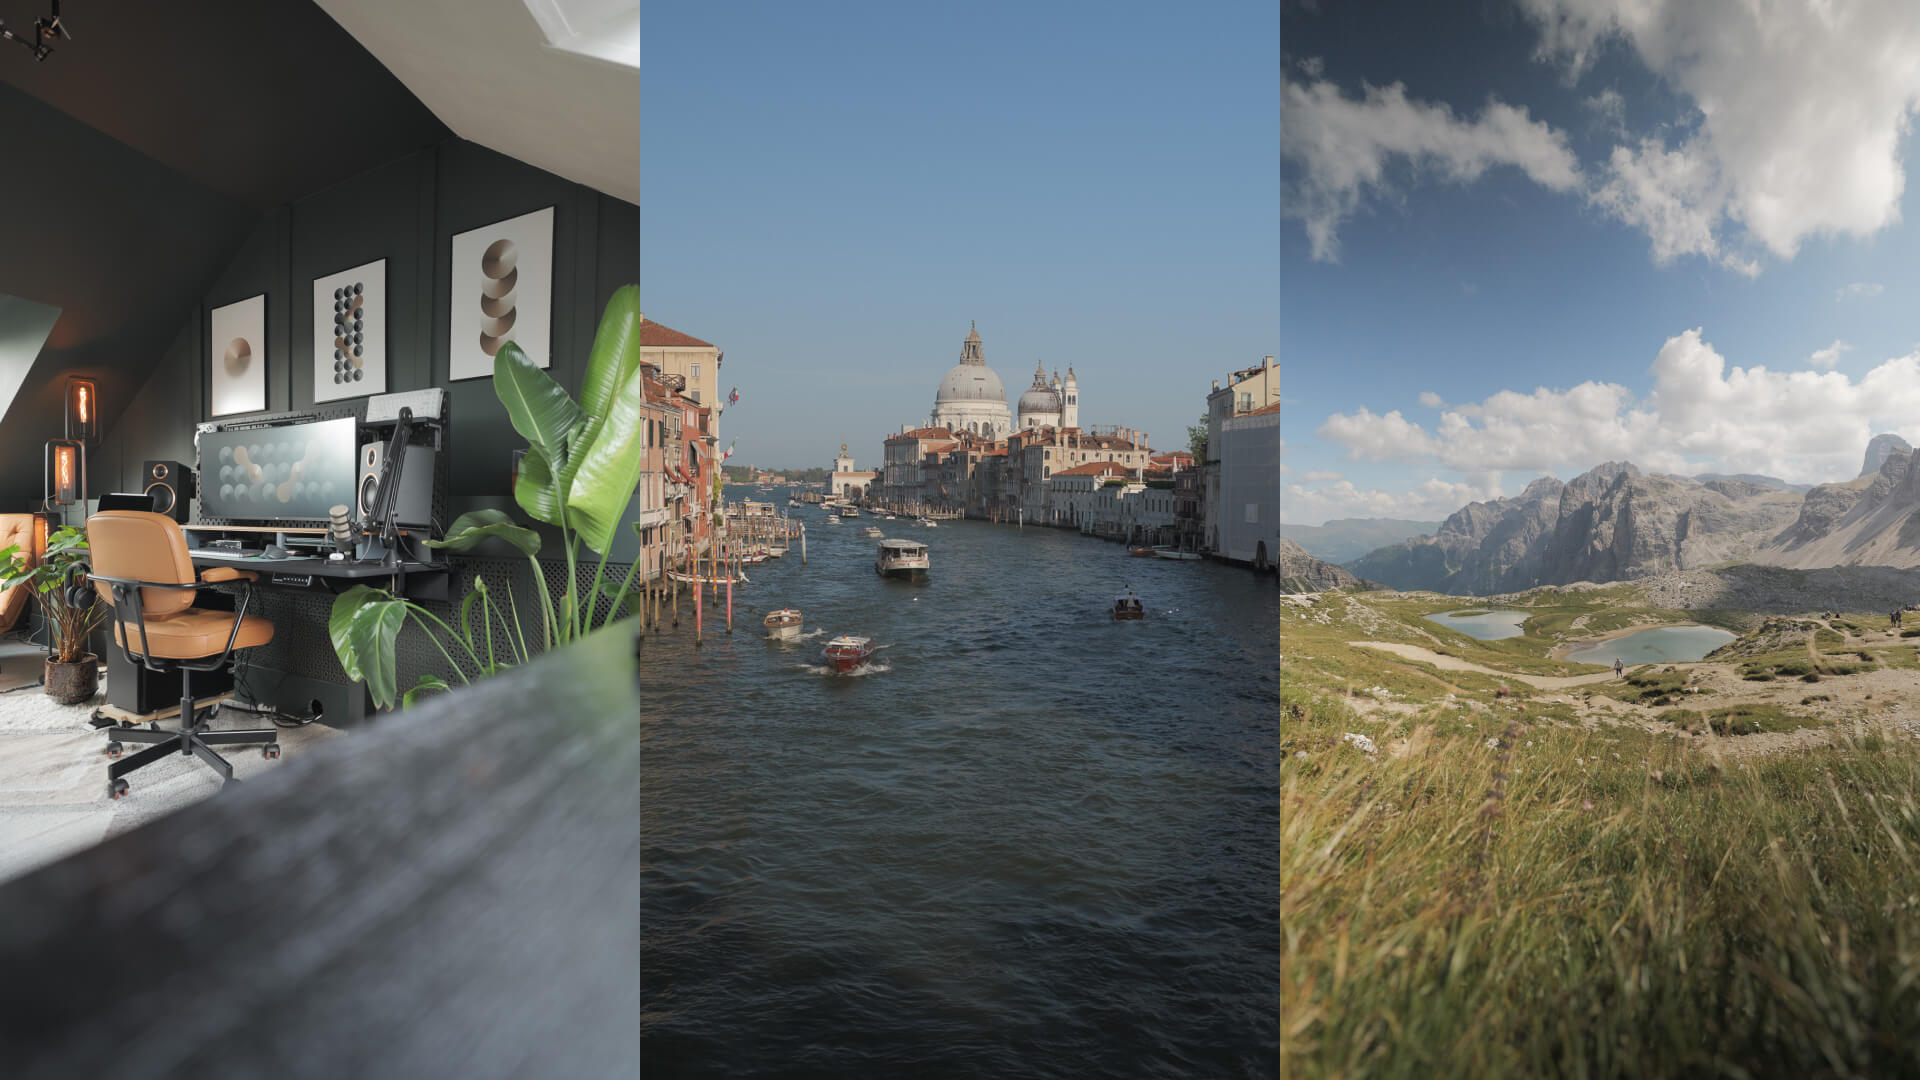
The Signature LUT Collection brings the Signature look to video. All 9 LUTs are built from the same core style, with variations in contrast and intensity so you can adapt the look to different scenes, lighting conditions, and footage.
These LUTs are the video counterpart to the Signature Preset Collection, designed to keep your photo and video work visually consistent.
What's included
- 9 LUTs that work with all major editing software
- Free bonus: 3-hour color correction crash course
- Project files
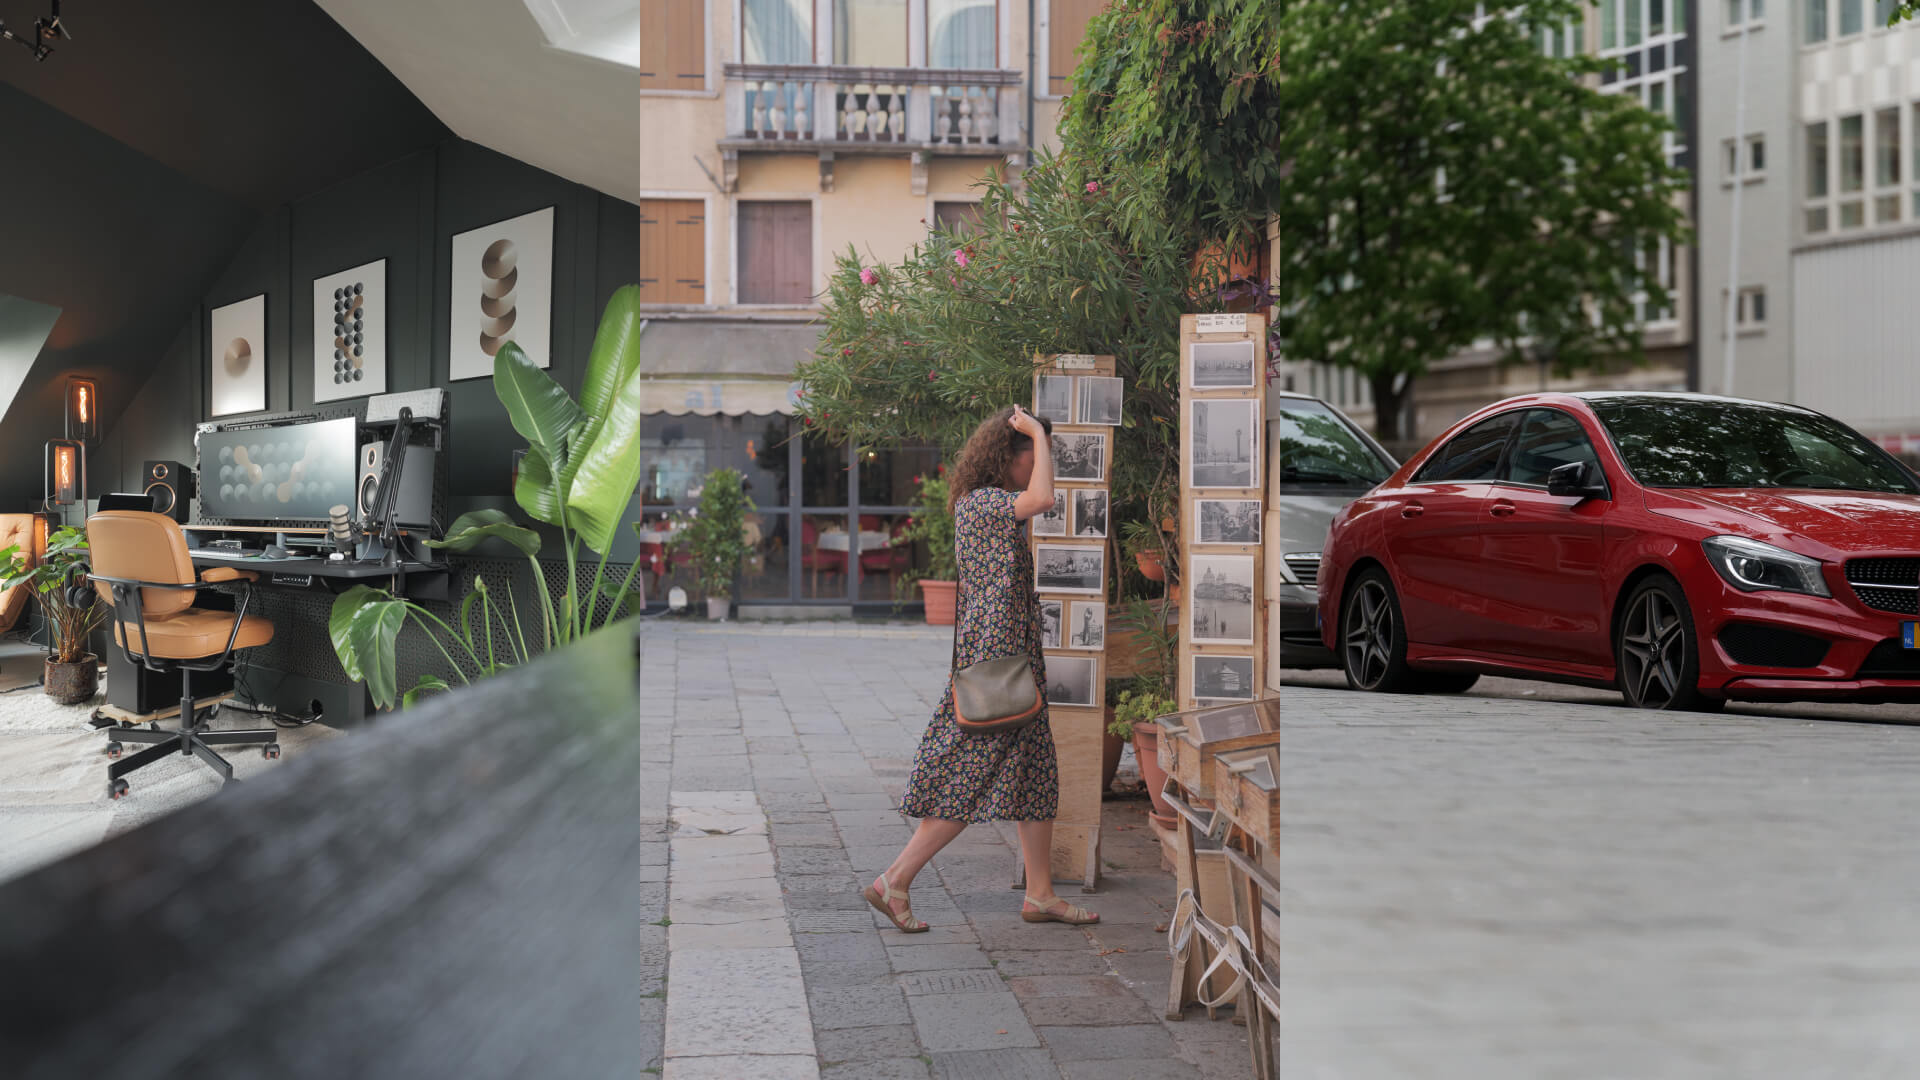
- 10 clips to grade alongside me
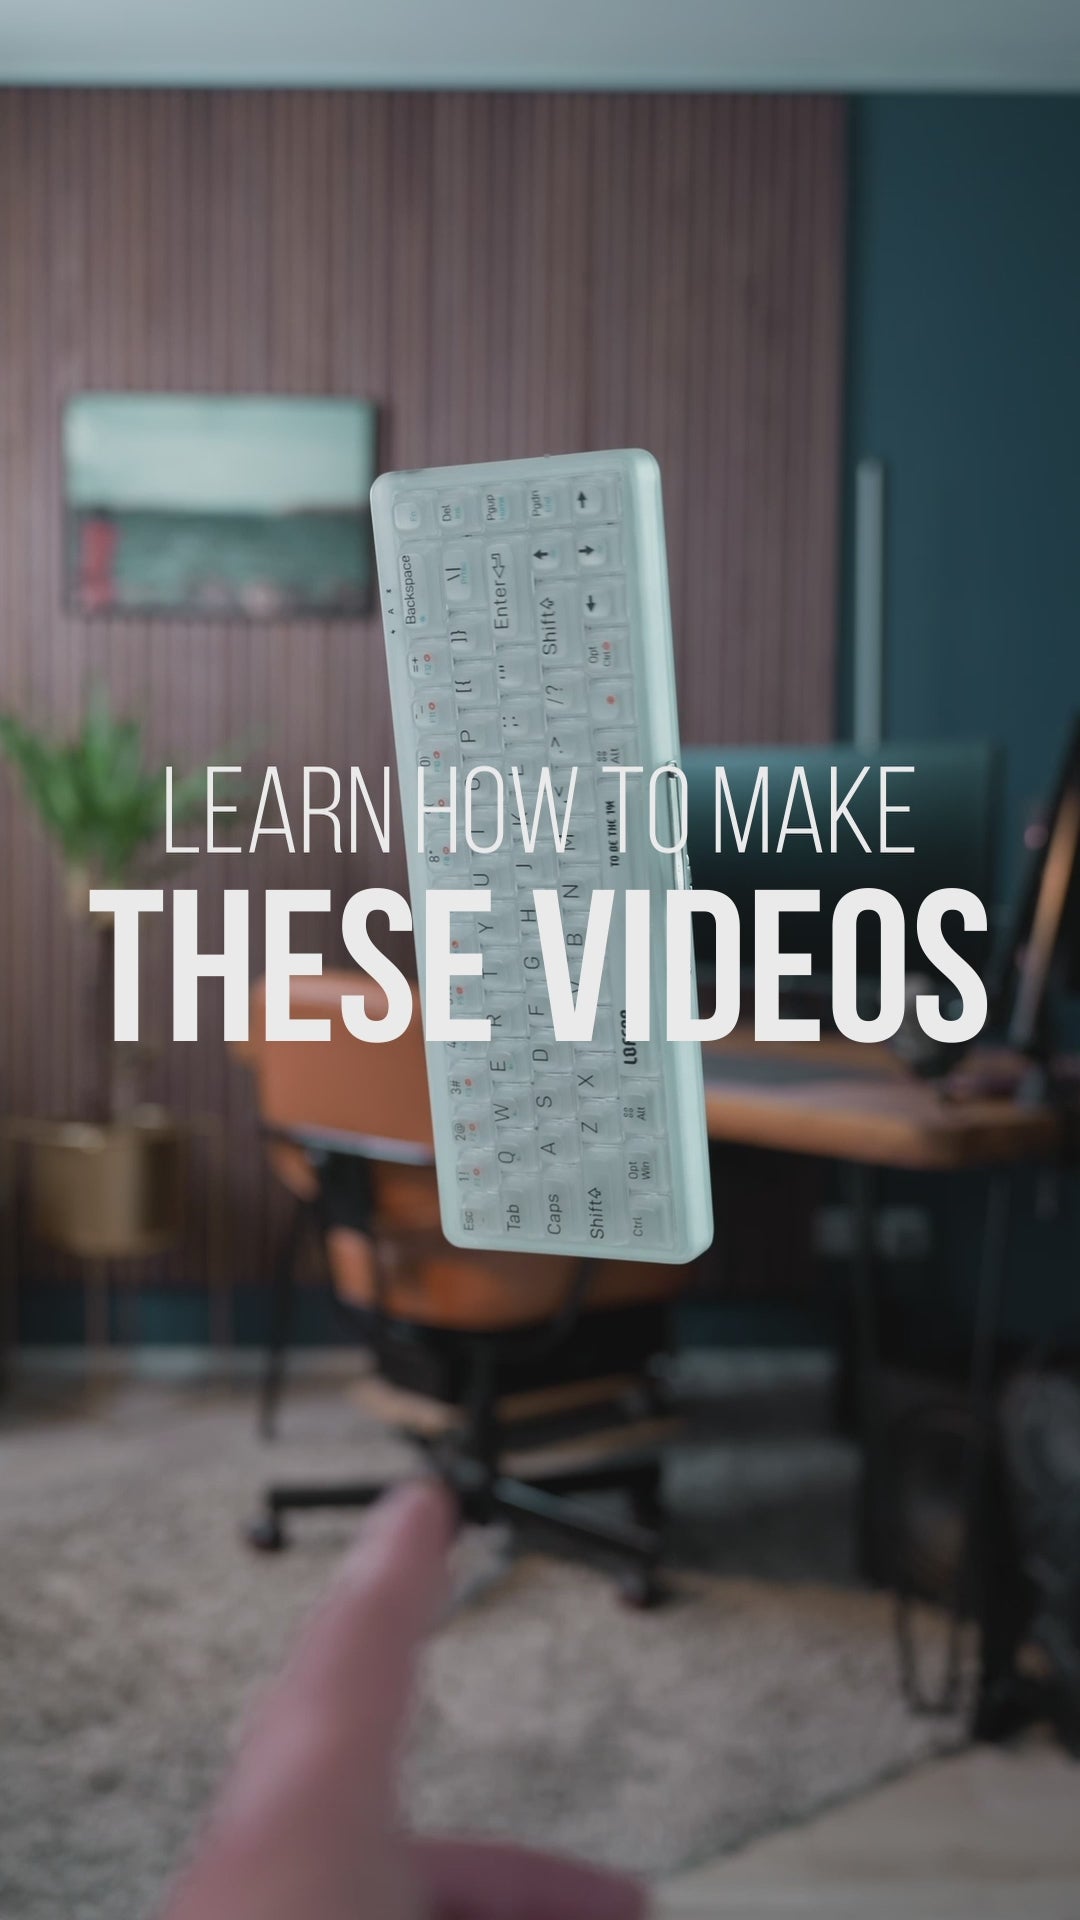
3-hour color correction course (free bonus)
When you purchase the Signature LUT Collection, you’ll get a free 3-hour color correction crash course for DaVinci Resolve and Premiere Pro. We’ll cover proper setup for your camera, walk through each look, and grade 10 real clips together, step by step.
Works with
All major editing software including:
- Davinci Resolve
- Adobe Premiere Pro
- Final Cut Pro
- CapCut for Desktop
- BlackMagic Camera App
Works with all cameras
These are Universal LUTs, designed to work with footage from any camera — Panasonic, Sony, Canon, Nikon, Fuji, Blackmagic, or even your phone.
Signature 01
Signature 02

Signature 03

Signature 04
Signature 05

Signature 06
Signature 07
Signature 08
Signature 09
The course I wish I had starting out
Color grading used to confuse the hell out of me. That’s why I created this 3-hour course for Davinci Resolve and Premiere Pro: to help you grade with confidence. We’ll cover setup for your camera, walk through each look, and grade 10 real clips together, step by step.